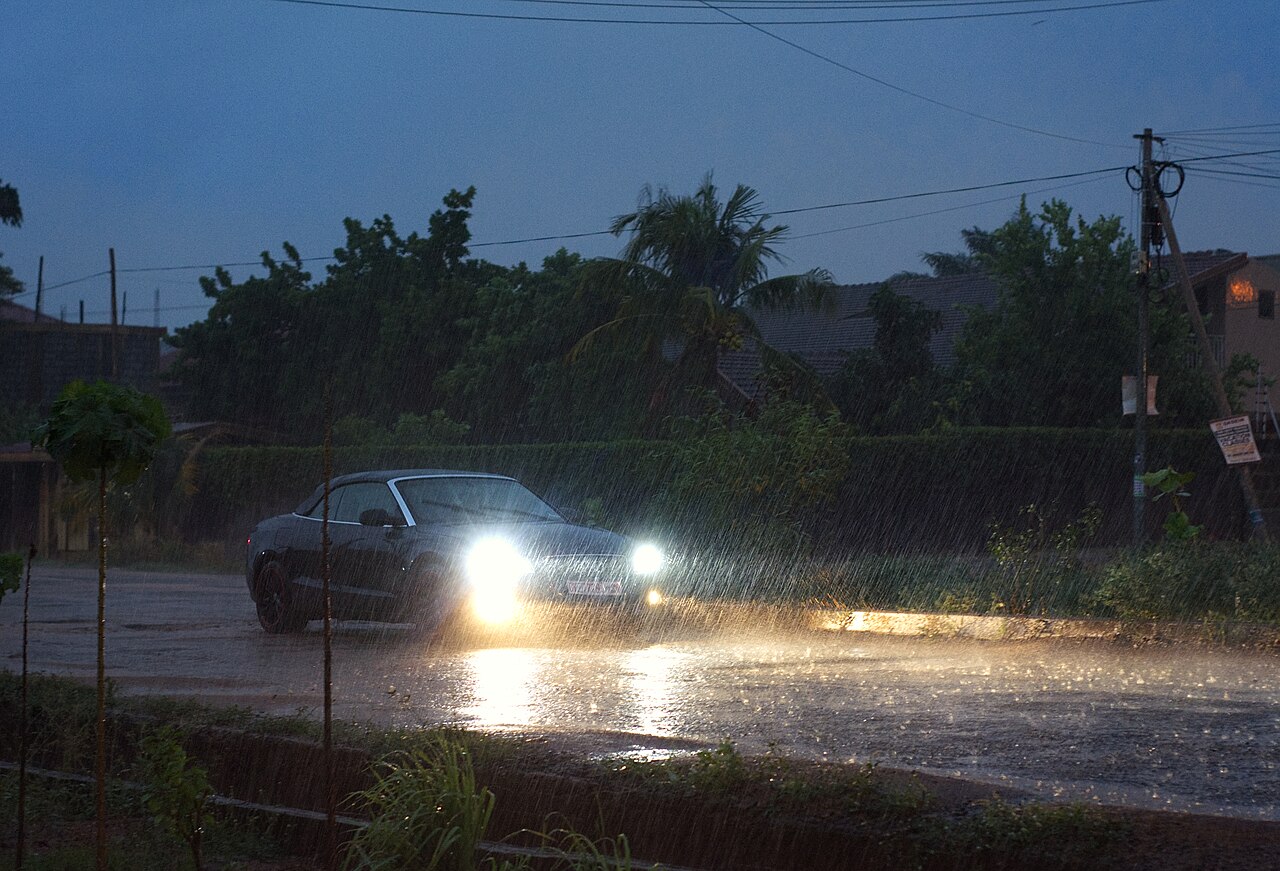
Rain can turn an ordinary commute into a low-contrast drive: a wet road reflects light, the sky drops early, and other road users are harder to pick out. That is precisely when a small lighting check earns its place in a maintenance routine. This is a practical, market-neutral checklist for drivers across Africa; always follow the vehicle handbook and the lighting rules that apply where you drive.
Why lighting deserves its own check
Headlamps have two jobs: helping the driver see ahead and helping to avoid glare for other road users. The United States National Highway Traffic Safety Administration (NHTSA) describes lower beams as the setting intended for lower-speed driving and for meeting or closely following traffic, while upper beams are intended primarily for distance illumination when not meeting or following other vehicles. That visibility-and-glare distinction is a useful reason to check the whole lighting system rather than only asking whether the headlamps turn on.
NHTSA’s basic maintenance checklist specifically calls for routine checks of headlights, brake and parking lights, reverse lights and turn signals, and says to keep both windows and headlights clean. Read the checklist here. It is simple advice, but it covers the lamps another road user needs to see as well as the ones that light your way.
A 12-minute walk-around
- Park safely and switch on the parking lights. Walk around the car and check the front and rear position lamps. A dim, dead or visibly different-coloured lamp is worth noting.
- Check dipped and main beams separately. From the driver’s seat, confirm that the normal low-beam setting works; then check the high-beam indicator and beam setting according to the handbook. Do this away from traffic and do not stare into the lamps.
- Use a helper for signals, brake lamps and reverse lamps. One person can operate the controls while another looks from a safe distance. If you are alone, use a reflection or a wall where it is safe to do so—never stand behind or in front of a moving vehicle.
- Clean the lenses and number-plate area gently. Remove mud, dust and road film with products and methods approved in the handbook. NHTSA notes that clean headlamps help the driver see and help other road users see the vehicle. Source
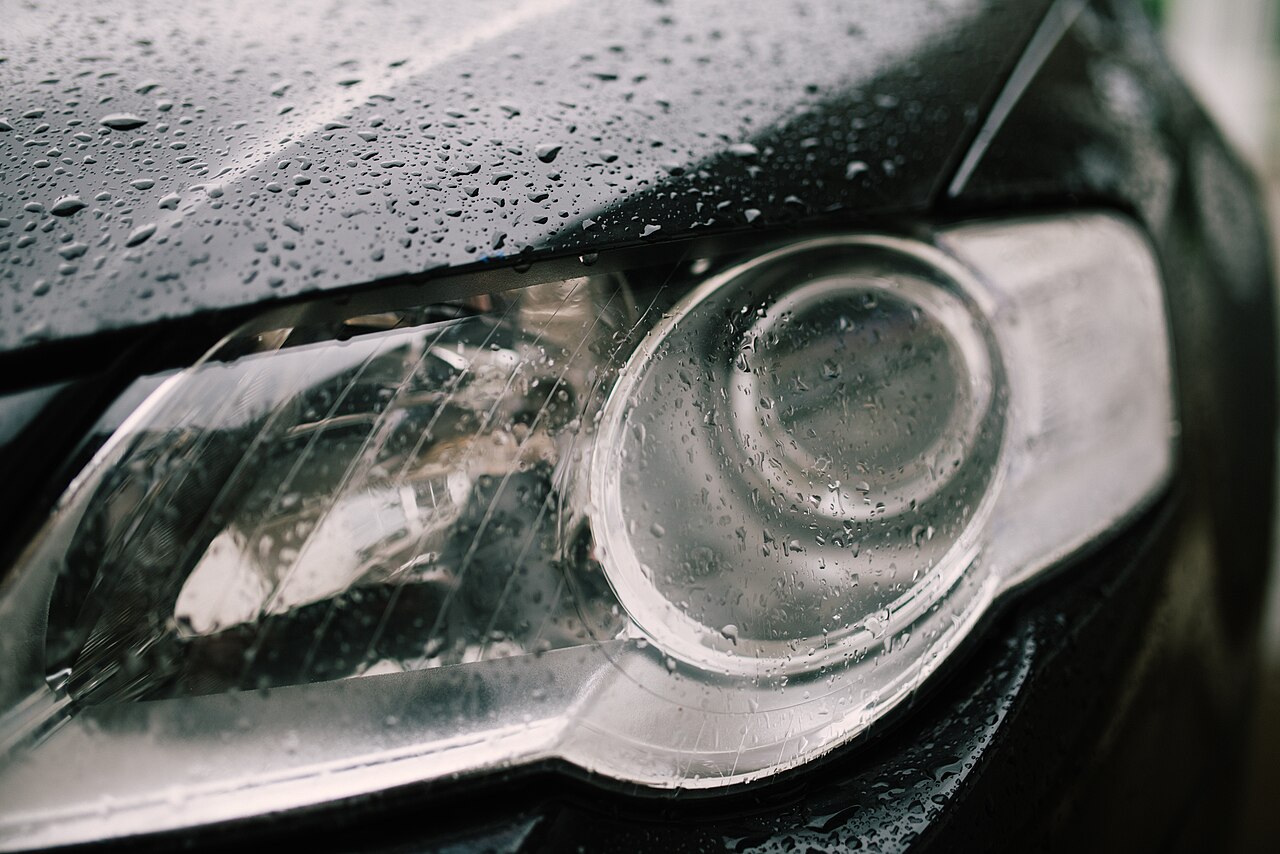
- Look for cracks, loose fittings and persistent water. A little internal mist can be confusing. One Toyota owner’s manual explains that temporary fogging after rain or a wash can occur from temperature differences, but advises dealer inspection for large water accumulation or large drops inside the lens. See the owner-manual guidance. Treat your own handbook and a qualified technician as the final word for your vehicle.
- Finish with the dashboard. Verify that the turn-signal, high-beam and warning indicators behave normally. A working dashboard symbol is not a substitute for seeing the exterior lamp operate.
When to book a professional inspection
Do not try to “improve” a strange beam pattern with an unapproved bulb, a random LED conversion or a screwdriver adjustment. Ask a qualified workshop to inspect the system if a headlamp has been replaced, the car has had front-end damage, the beam looks markedly uneven, moisture persists, a lamp repeatedly fails, or other drivers regularly flash you. Headlamp aim affects both driver visibility and glare—an issue NHTSA is actively examining in its current lighting-standard work. NHTSA announcement
Make the check fit your drive
For a city trip, working indicators, brake lamps and clean low beams may be the priority. For a long intercity drive, add a check of the spare bulbs or fuses only if your handbook specifies them, and make sure a passenger knows how to help with the walk-around. In heavy rain, fog or dusk, use lights as required by local law and conditions; low beam is the considerate choice when there is approaching or closely followed traffic because high beam can create glare. Why that matters
This is not a repair guide. A lamp that is out, cracked, waterlogged or wrongly aimed is a reason to have the vehicle assessed before relying on it for a low-visibility journey.
Sources
- NHTSA — Vehicle Safety Checklist
- NHTSA — Safety needs: visibility and glare prevention
- Toyota owner-manual guidance on fogged exterior light lenses
- NHTSA — lighting standards and headlamp aim
Image credits
- Cover: Car headlight beams through the rain 2 by Kwameghana (Bright Kwame Ayisi), Wikimedia Commons, CC BY-SA 4.0. Uploaded to Vroom Africa for this article.
- In-article image: Car headlights illuminated with raindrops on a rainy day in an urban environment by Shixart1985, Wikimedia Commons, CC BY 2.0. Uploaded to Vroom Africa for this article.